Installation
You can do it in two ways:
FTP Upload
- Download the
All files & documentationfrom your Themeforest account, Downloads section - Unzip the
elymor-main.zipfile or whatever the name of the downloaded archive is. - Select the elymor folder which represents the Wordpress theme folder. It's important to extract this folder and not the main archive!
- Open up your FTP manager and connect to your hosting
- Browse to
wp-content/themes - Upload the elymor folder mentioned in the third step above
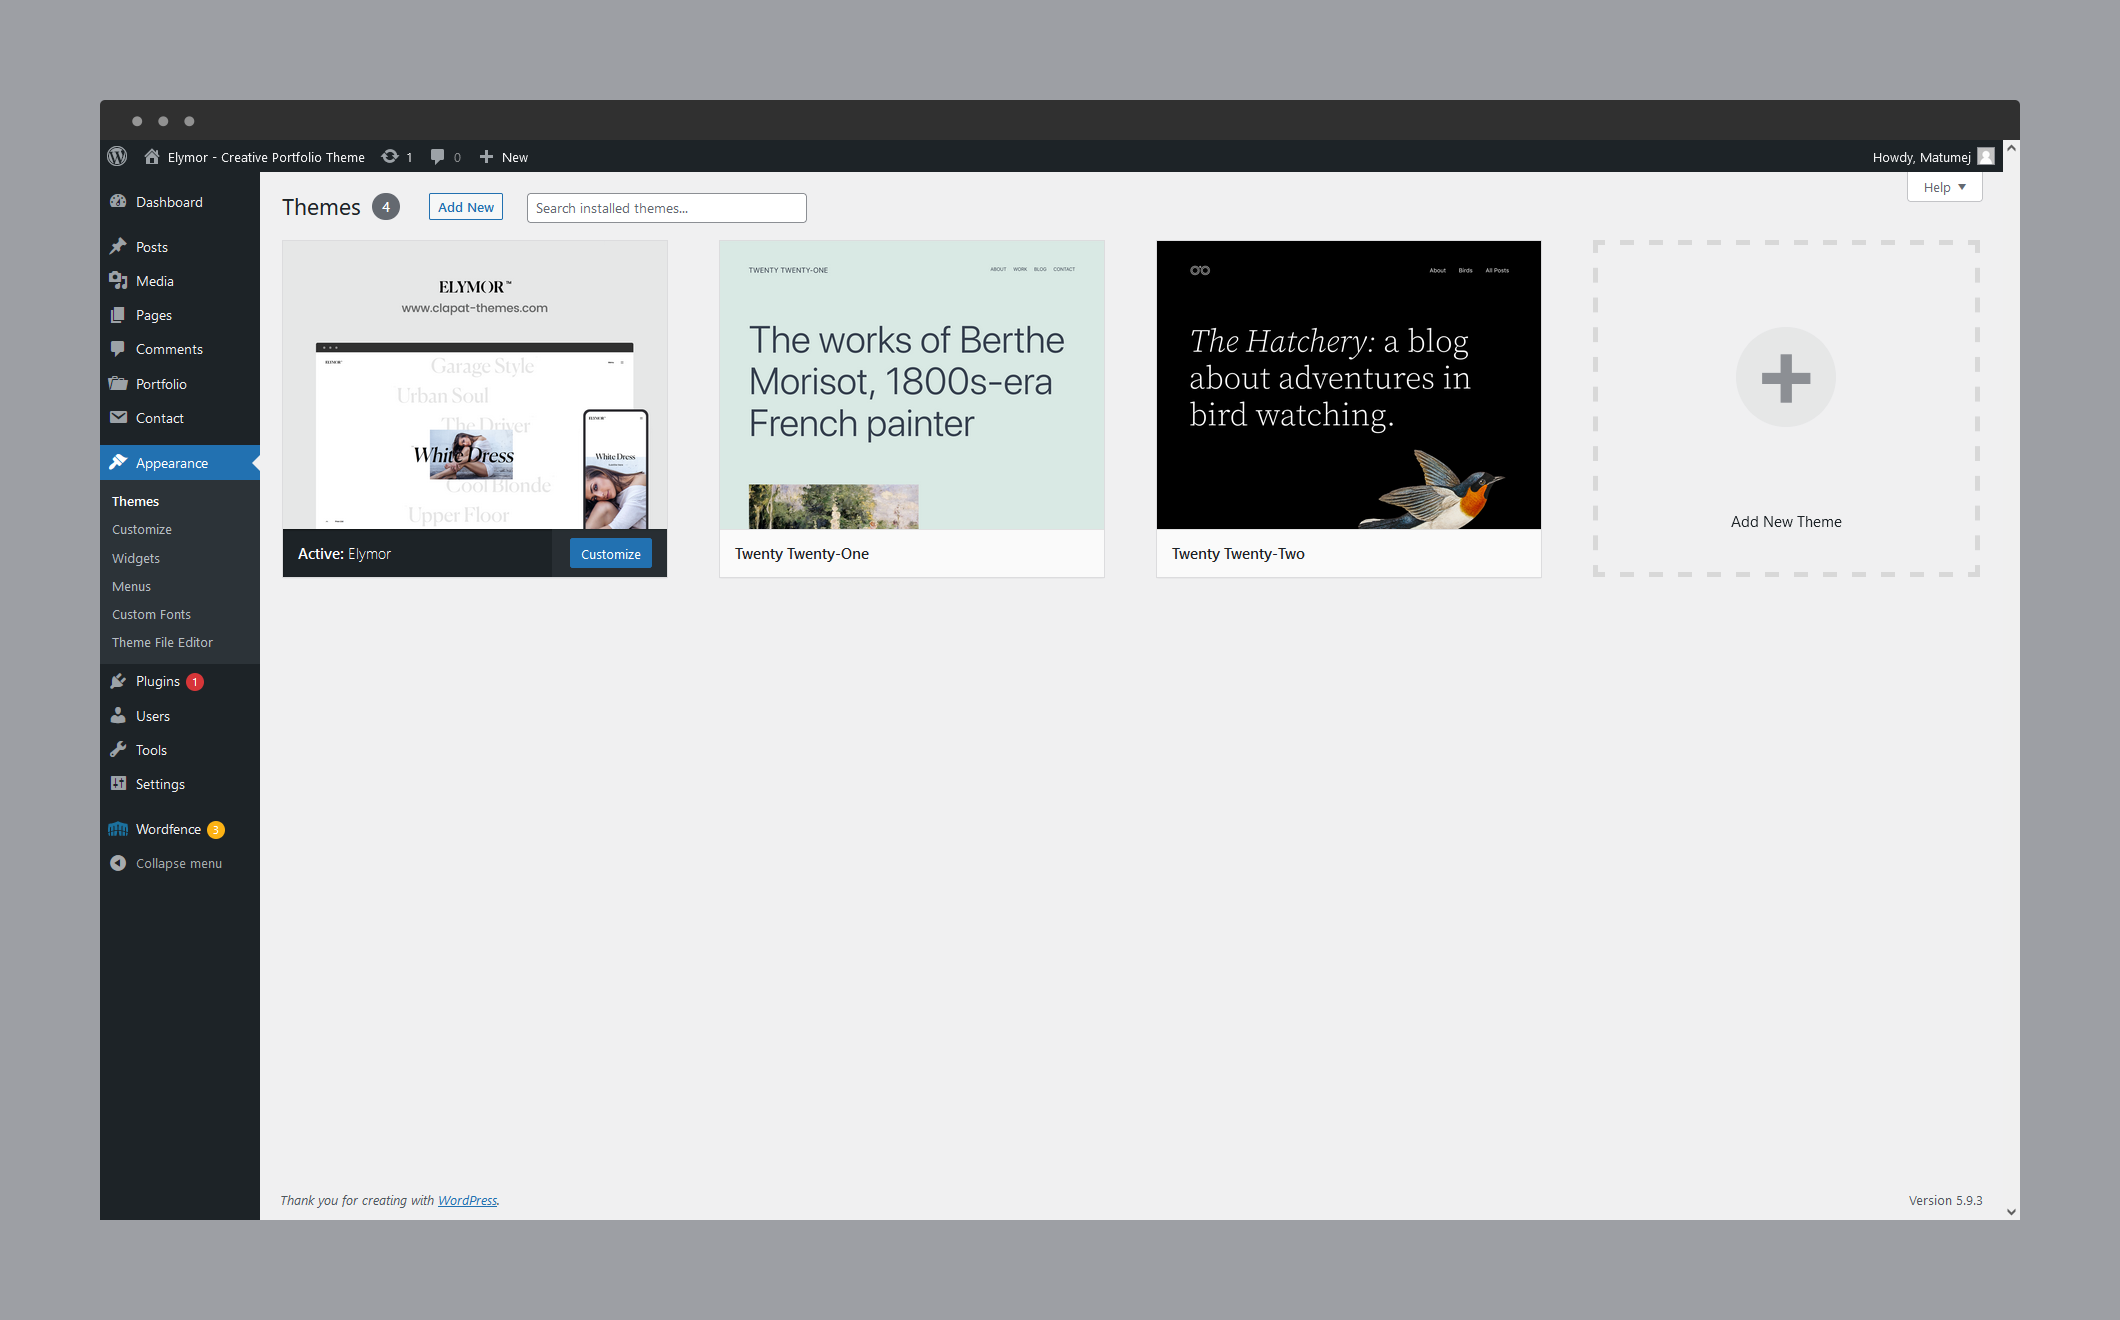
- Log Into WordPress and go to Appearance » Themes
- Find Elymor and click
Wordpress Upload
- Download the "Installable WordPress file only" from your Themeforest account, "Downloads" section
- Navigate to Appearance » Add New Themes » Upload
- Select the downloaded theme file
elymor.zip - Hit button and the theme will be uploaded and installed
- Once the theme is uploaded, you need to activate it. Go to Appearance » Themes and activate Elymor theme.
Setup Wizzard
After the theme is activated you can use the Merlin wizzard to setup the theme. It consists of a few steps allowing you to install a child theme, the required and recommended plugins, import the demo content (built with Gutenberg or Elementor), setting up the demo home page and primary menu.
The wizzard is optional, you can skip every step or you can choose to if you want to setup the theme manually or simply .
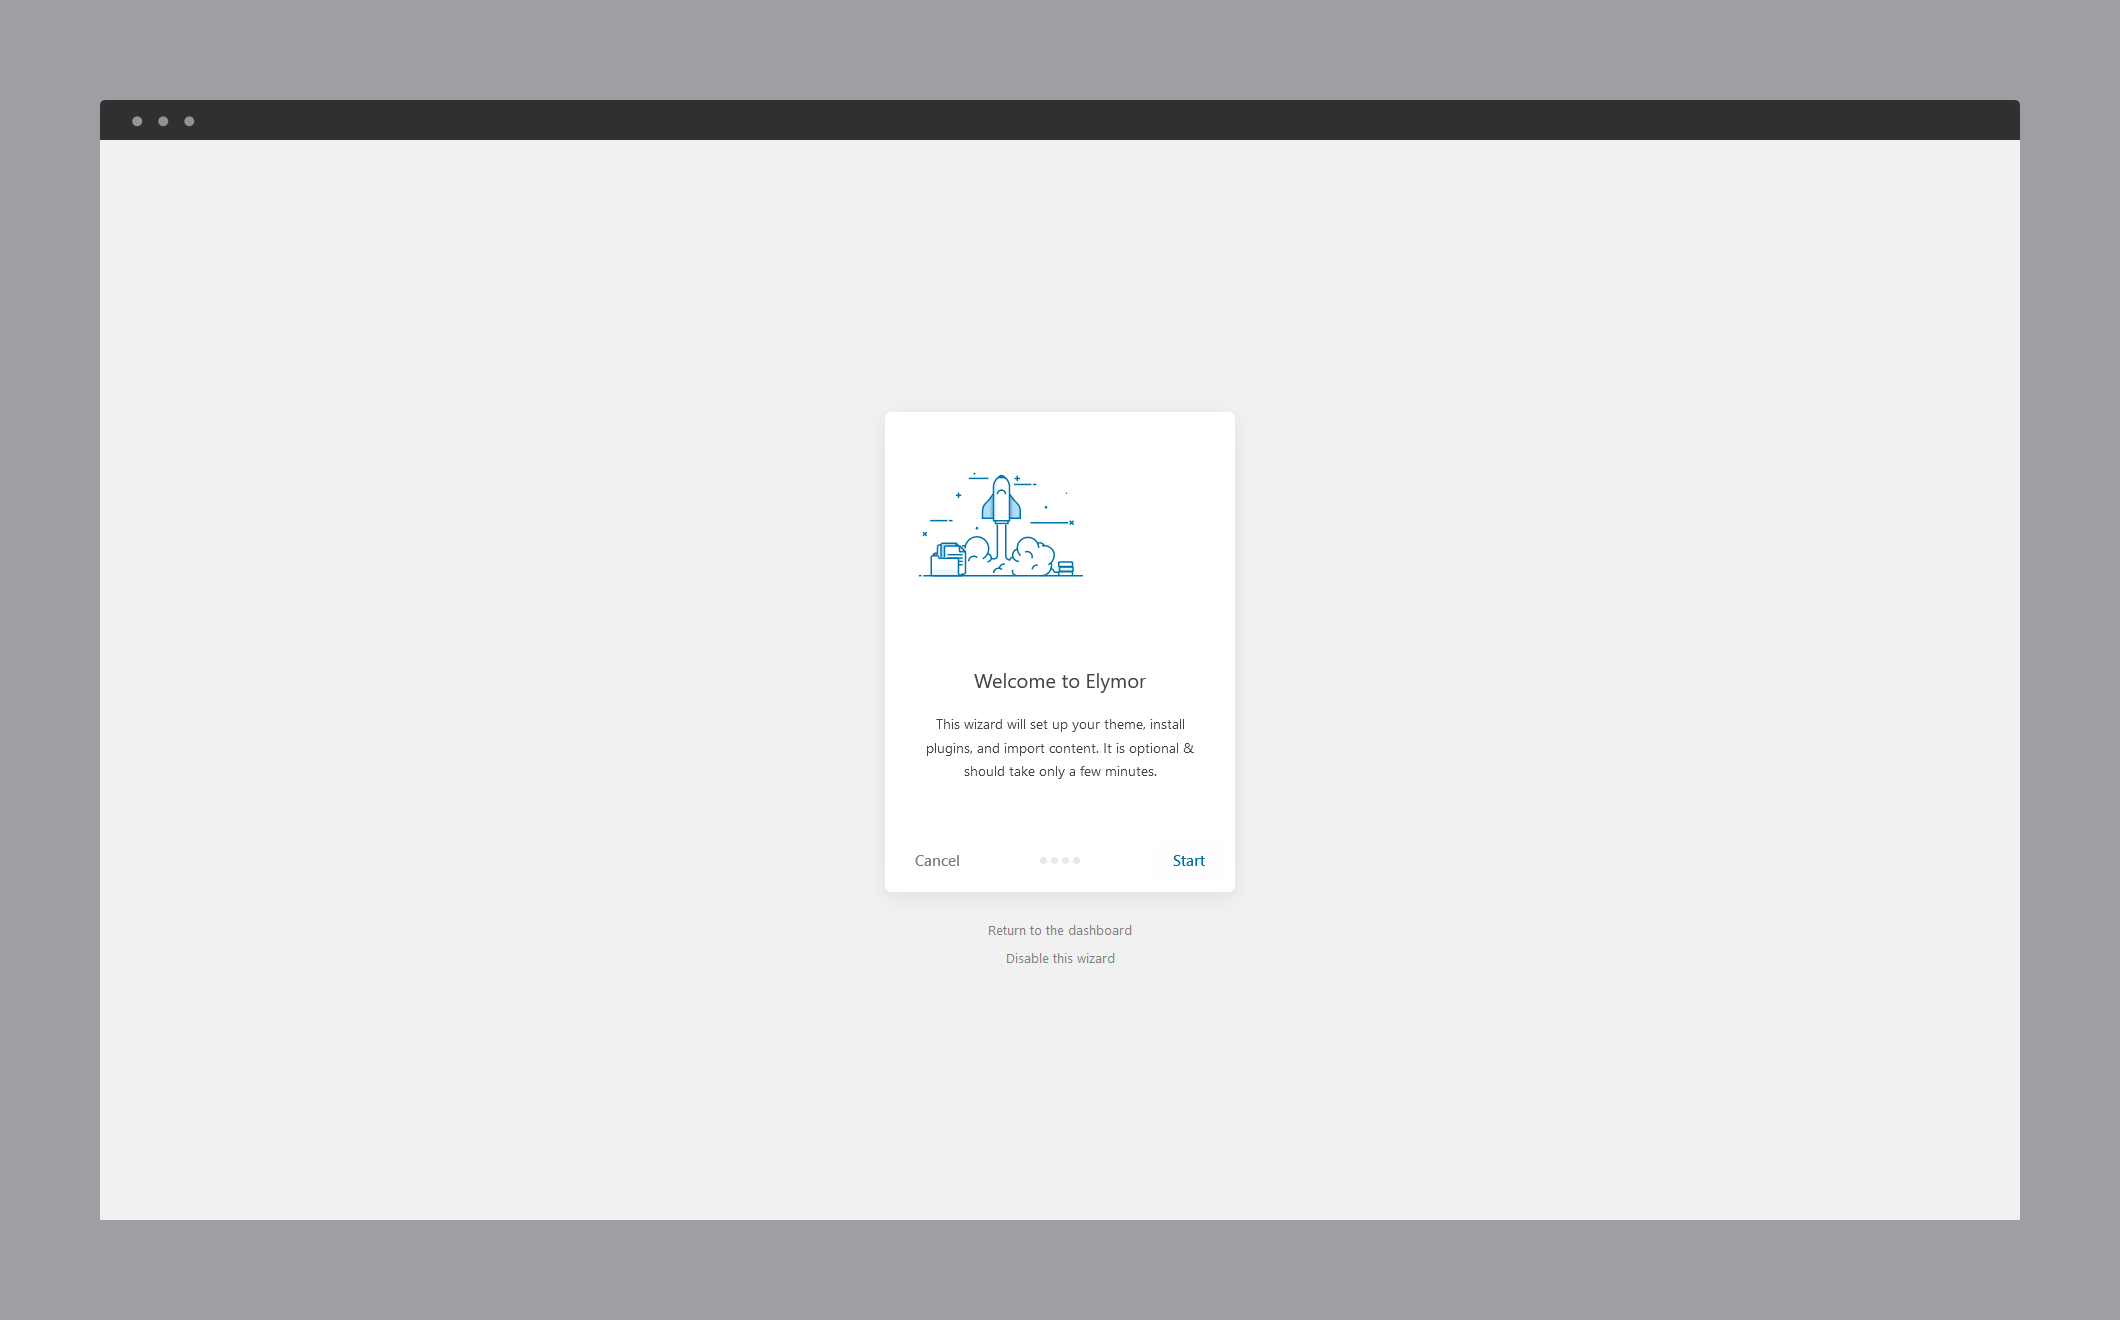
01. The first step presents a Welcome Message starting the Wizzard.
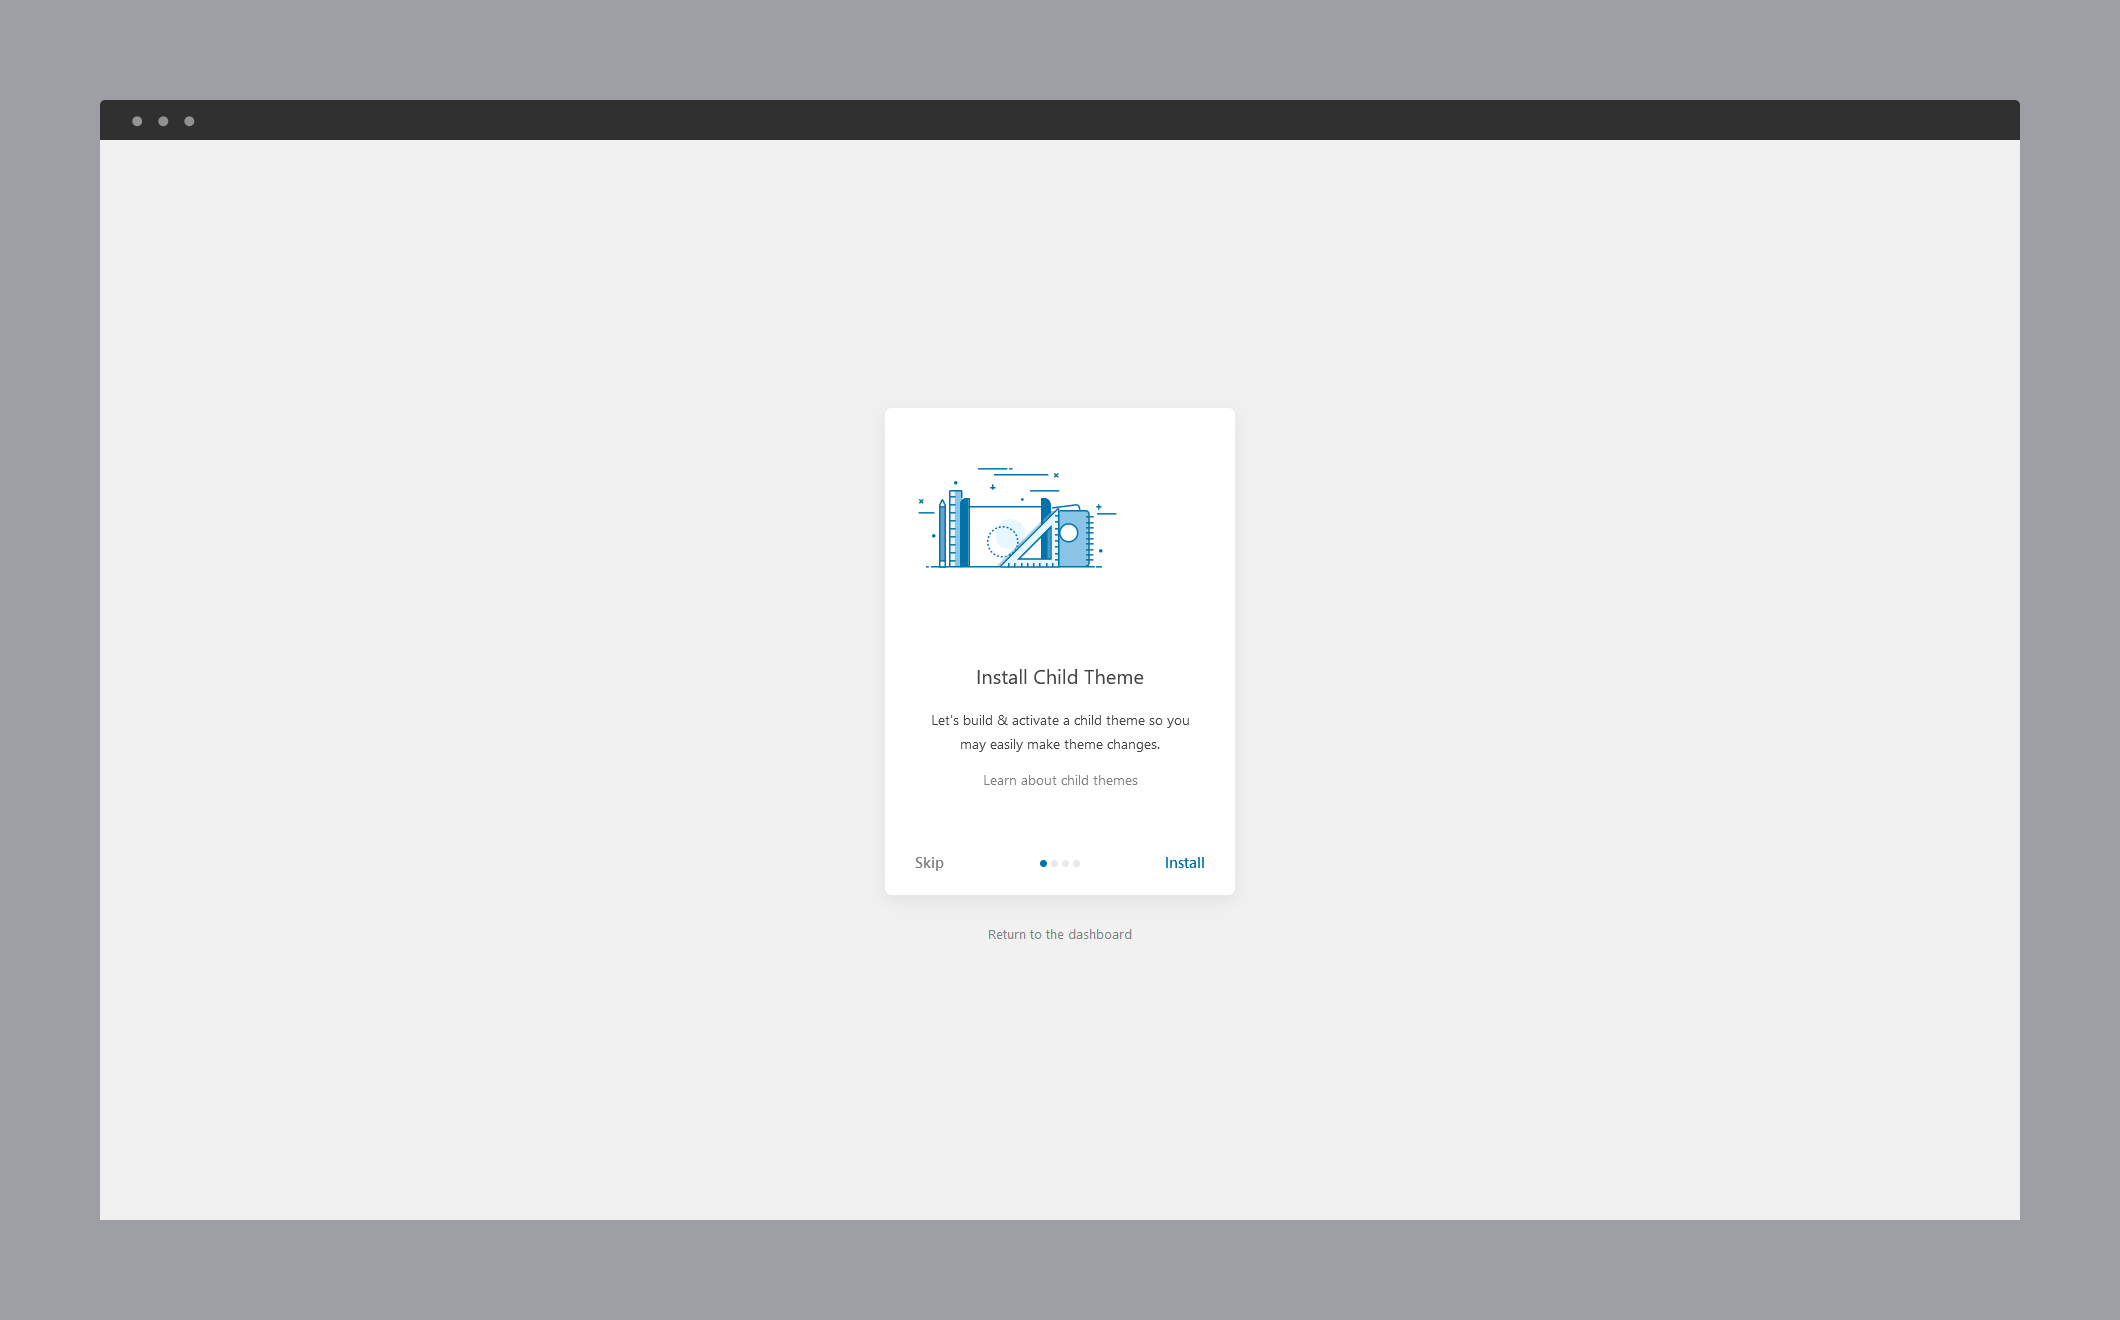
02. The second step presented by the wizzard will install the Elymor child theme. Read more about child themes here.
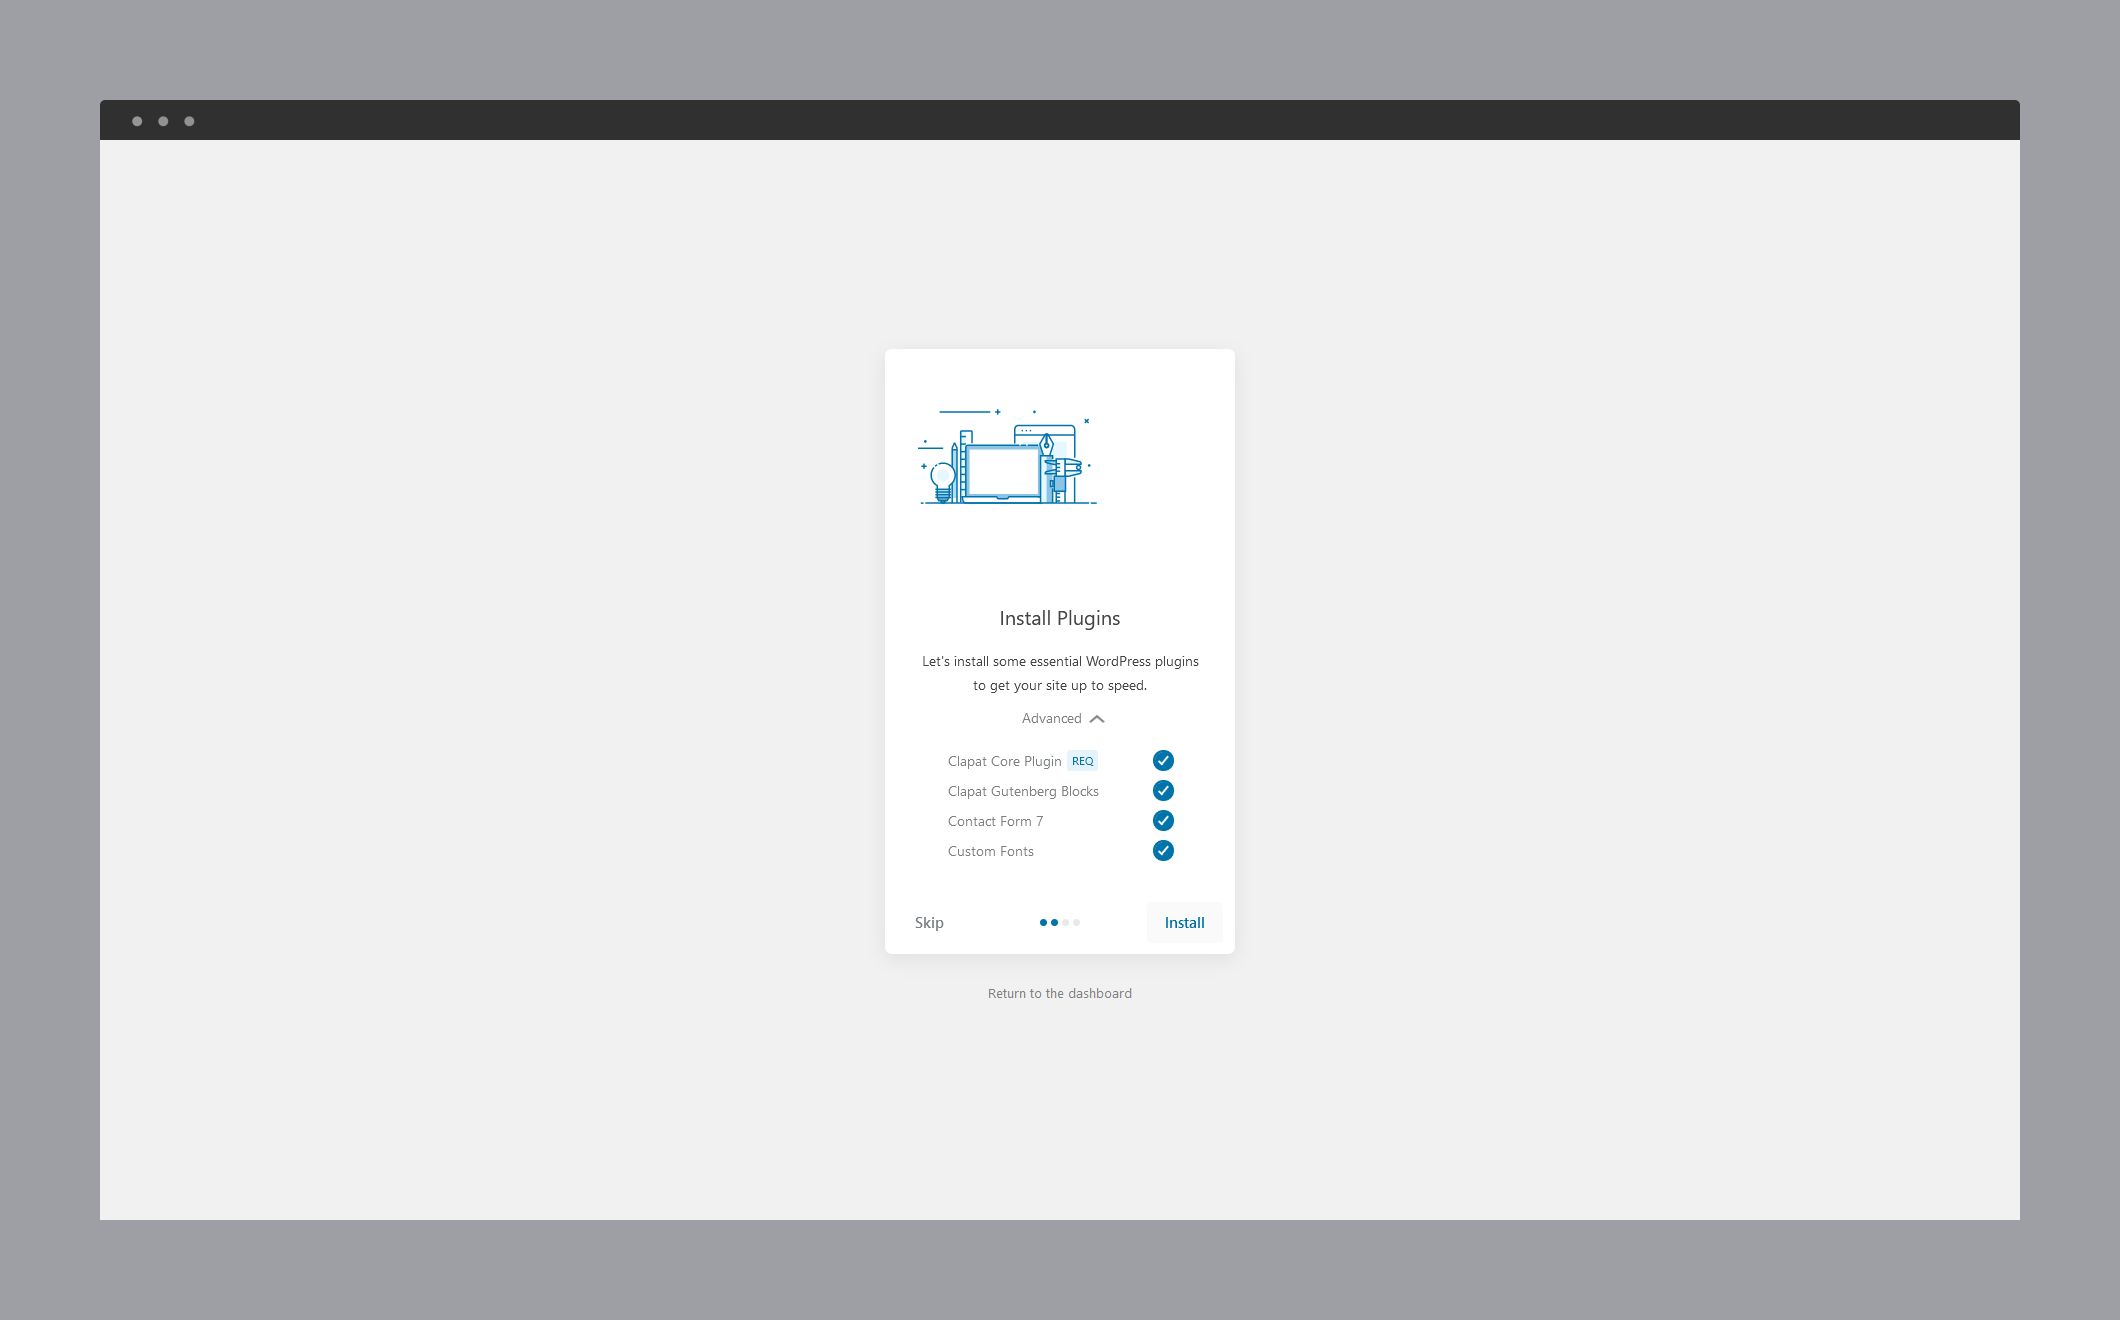
03. Third step is to install the required and recommended plugins. They are also listed so that you are aware which plugins are going to be installed. If you skip this step you will be prompted later in the admin dashboard to install them.
04. Fourth step will install demo data that comes in two versions: for the default Gutenberg WordPress editor or Elementor page builder. It will also import the customizer options and blog sidebar widgets.
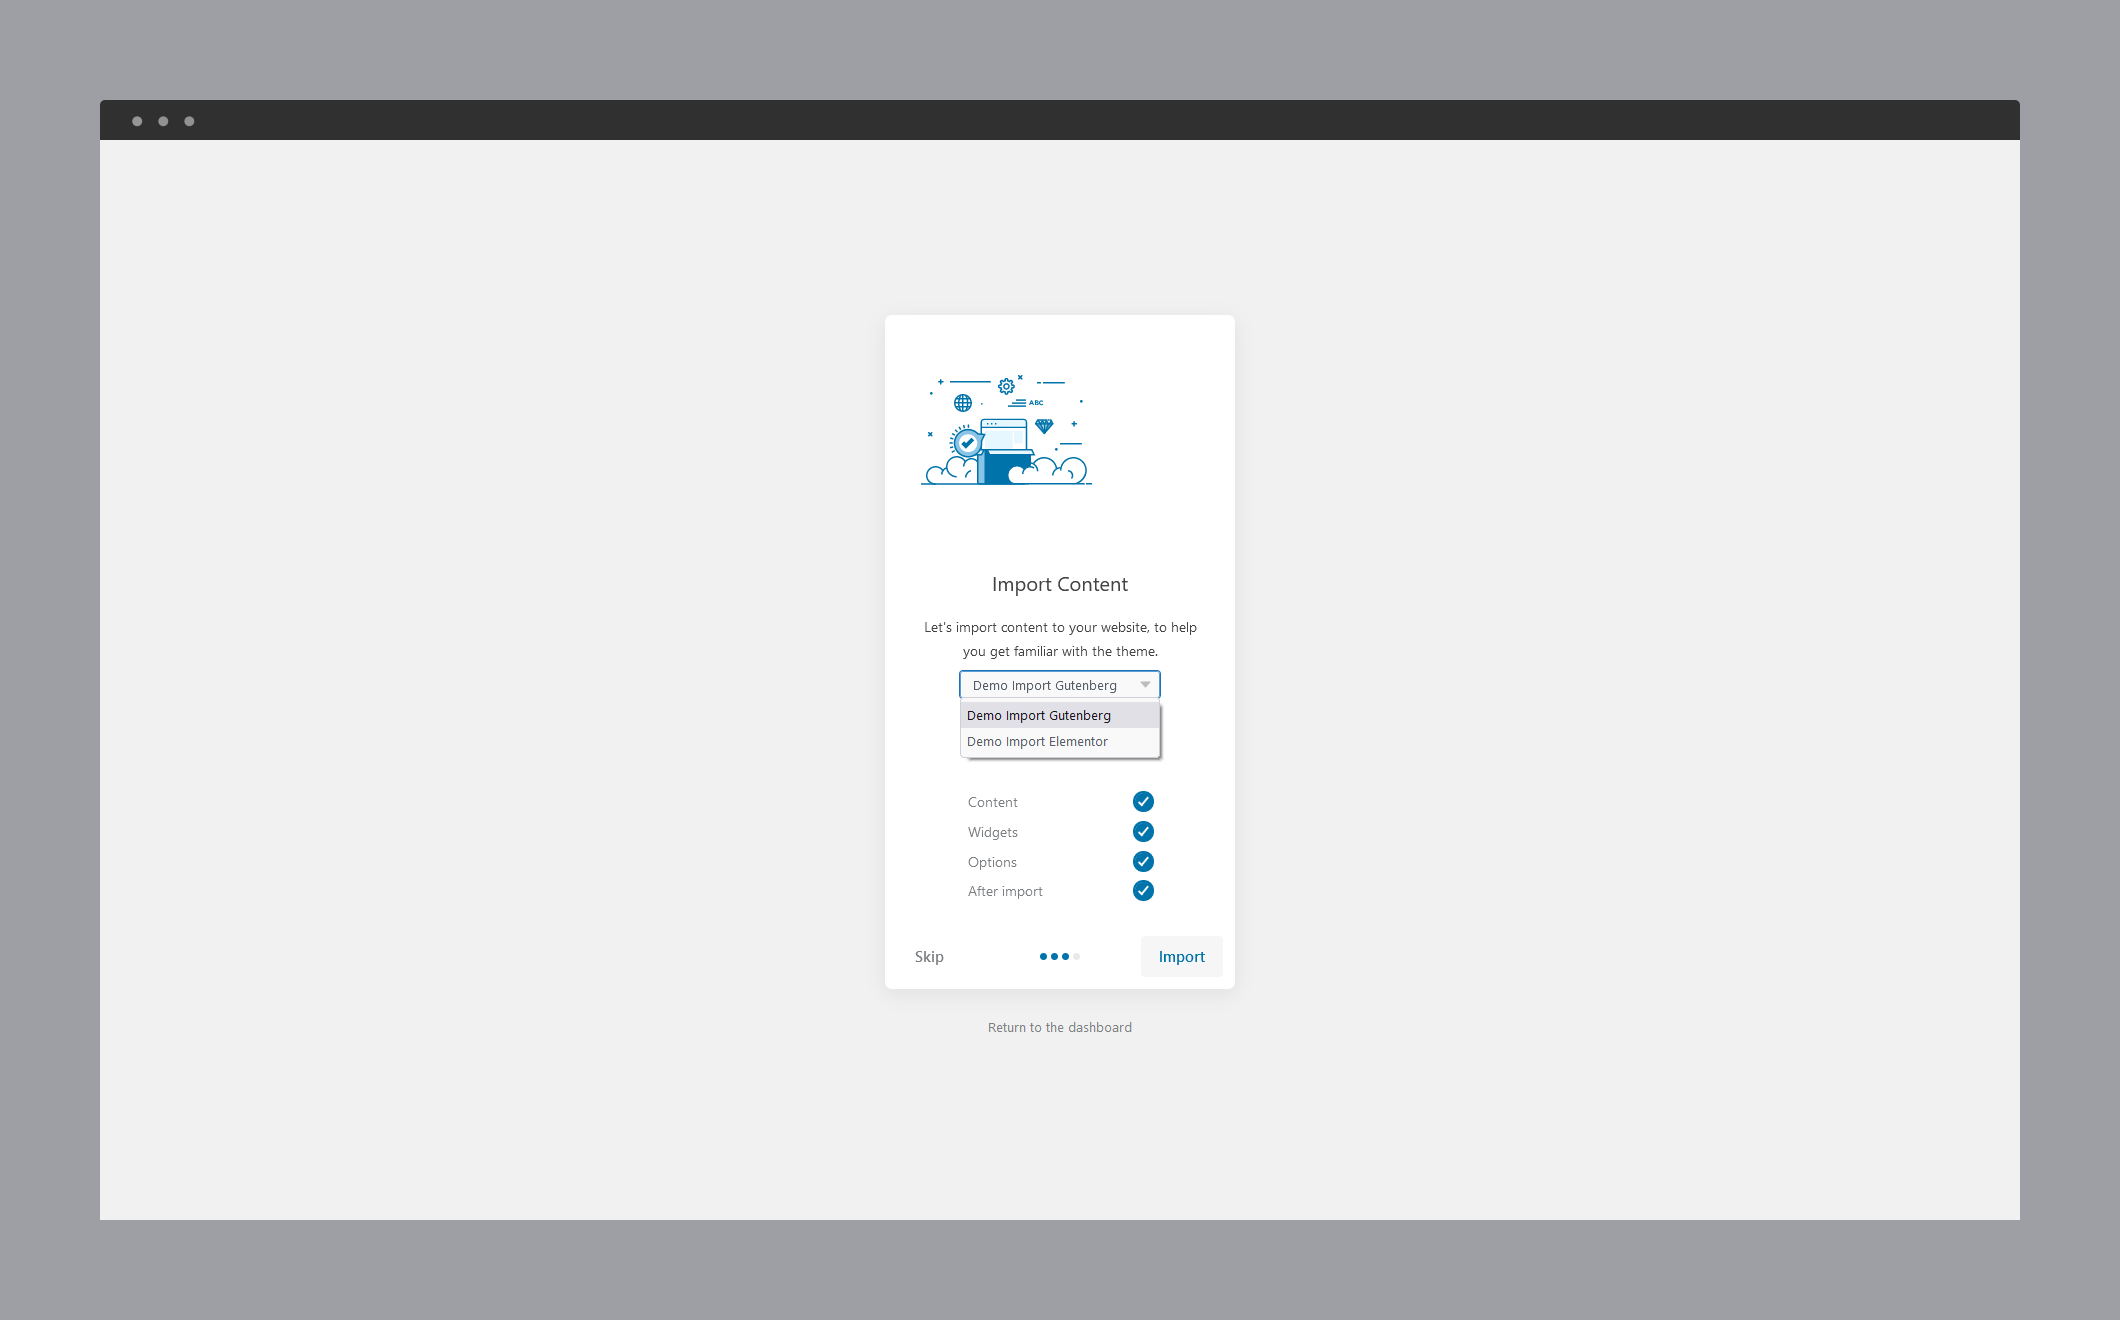
05. The last step is the completion of the setup. Your site is ready
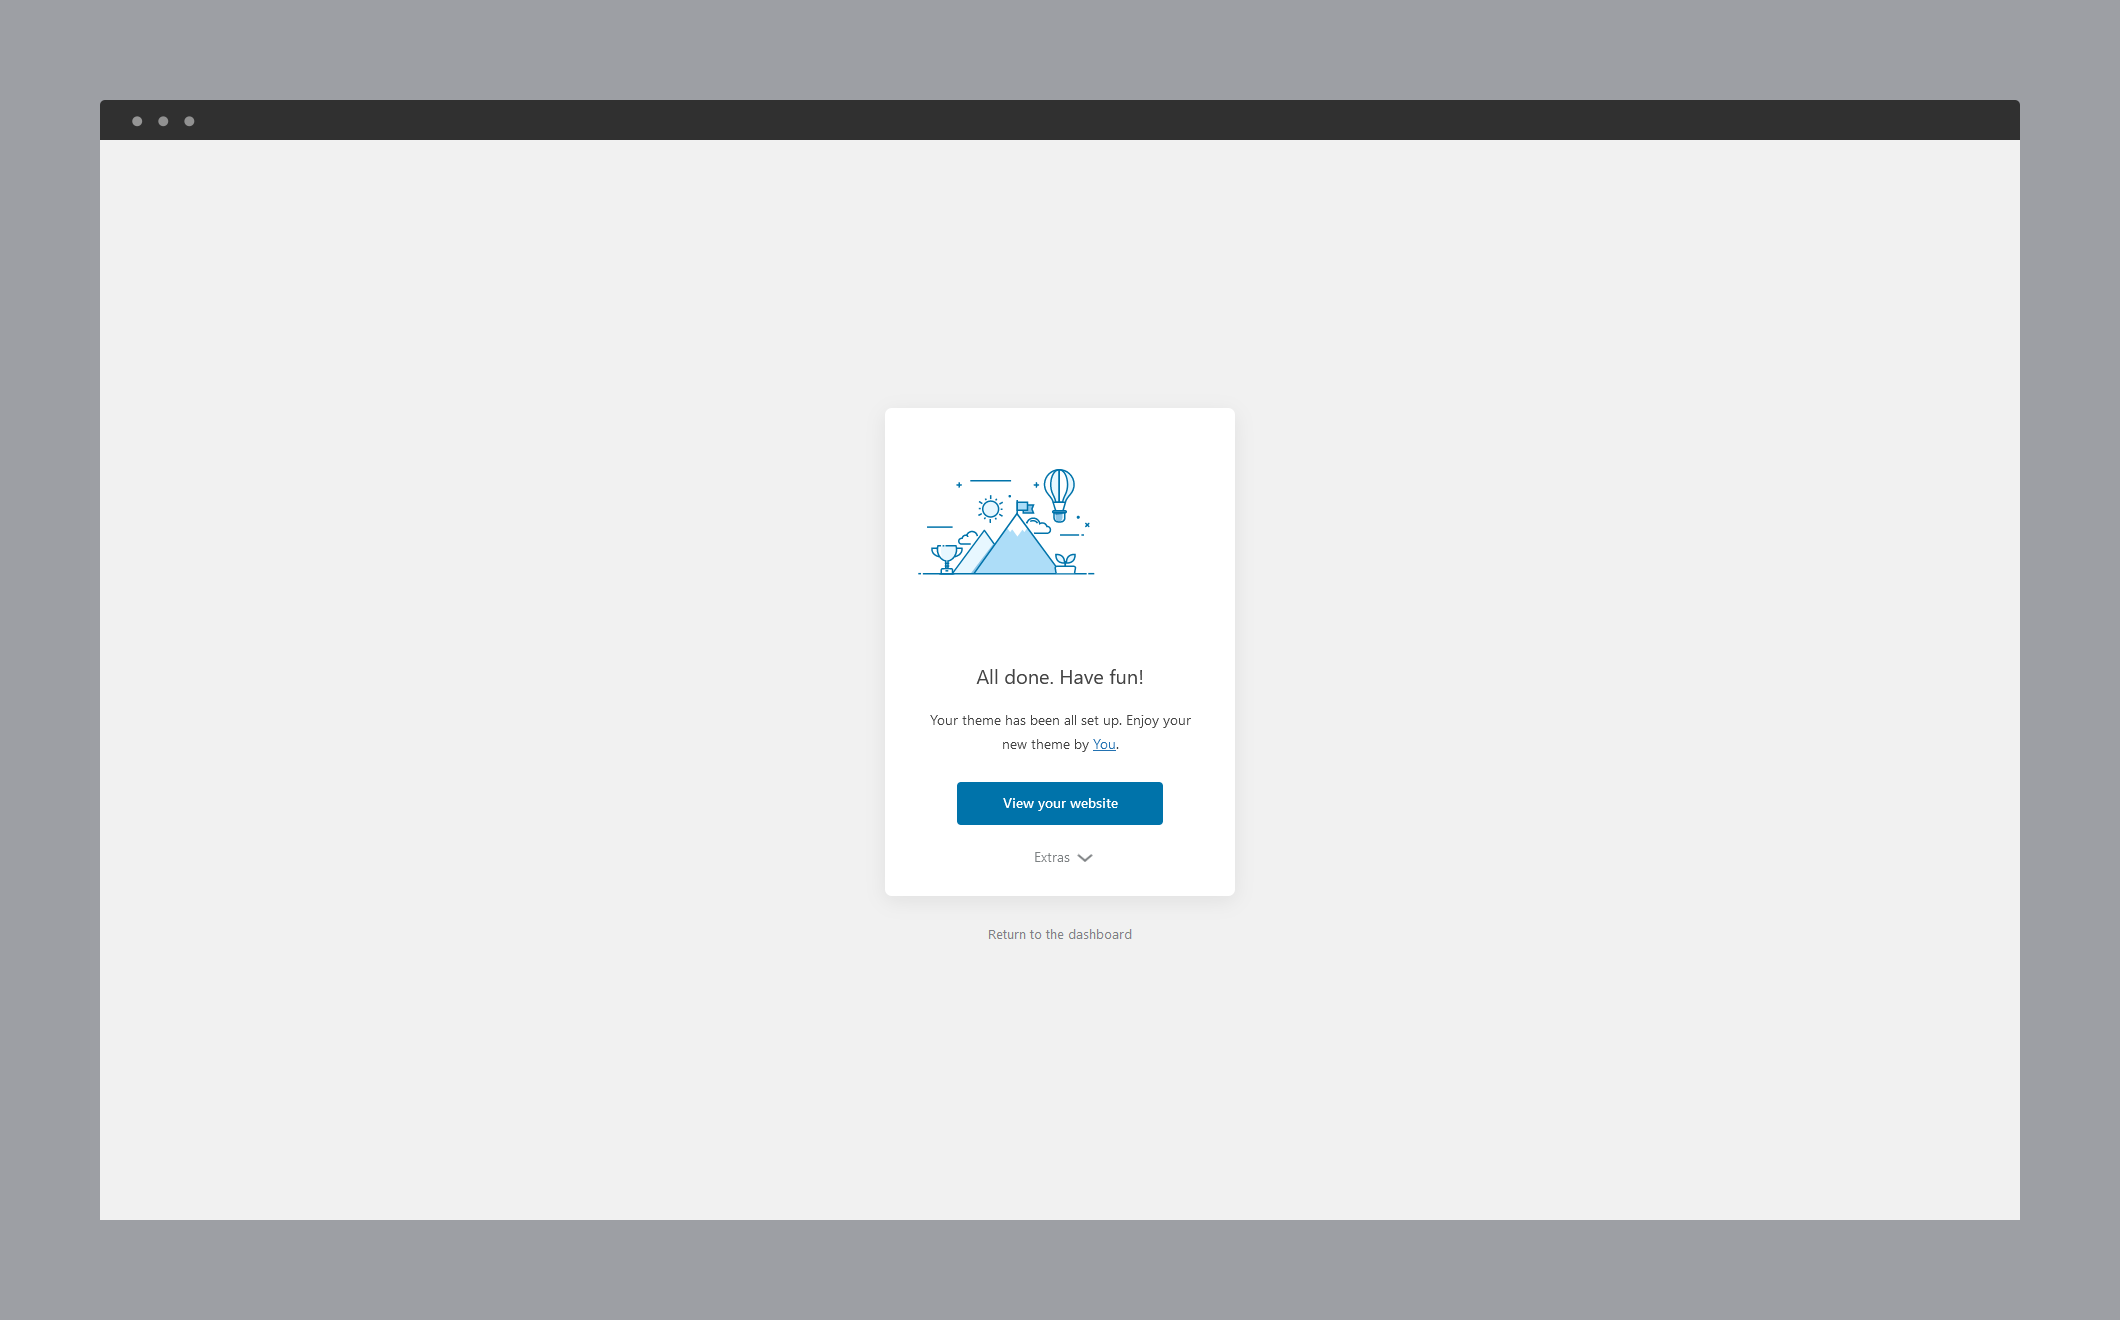
After Wizzard Setup, make sure you replace the demo hero images for ALL portfolio items in portfolio options with images selected from your media library, otherwise the Showcase WebGL slider does not display the images because of the cross-origin policy.
If you want to have complete control over the setup and configure the theme and install demo data manually please continue reading the sections below.
Plugins Installation
If theme installation was successful, you'll see a notice about required plugins for Elymor, to proceed click

You'll see a list of plugins, select them all and choose Install and then hit button. If everything will go OK, you should see them in Plugins » Installed Plugins list in wp-admin and you should activate all the new plugins.
Importing Demo Content
If you want to have the same content on your website as Live Preview of Elymor theme, you'll need to import demo content.
To do that please go to Tools » Import » WordPress, install wordpress importer plugin if necessary and go to main theme package folder, demo-data folder and select the import file suitable for your editor:
import_gutenberg.xmlif your editor of choice is Gutenbergimport_elementor.xmlif your editor of choice is Elementor
Proceed importing the file.

Please make sure you check Download and import file attachments before you click Submit. After the content was succesfully imported, you need to setup the site menu. Please read more about how to setup the Primary menu below.
After import, make sure you replace the demo hero images for ALL portfolio items in portfolio options with images selected from your media library, otherwise the Showcase WebGL slider does not display the images because of the cross-origin policy.
Some photos included with import file may be blank since they are used only for demo and we do not have distribution rights for them.
Setting up the Primary menu
Go to Appearance » Menus, and make sure you have at least a menu created and set it as 'Primary Menu'. If you have multiple menus Elymor will pick the first menu defined. If you have no menu created, go ahead and create one.

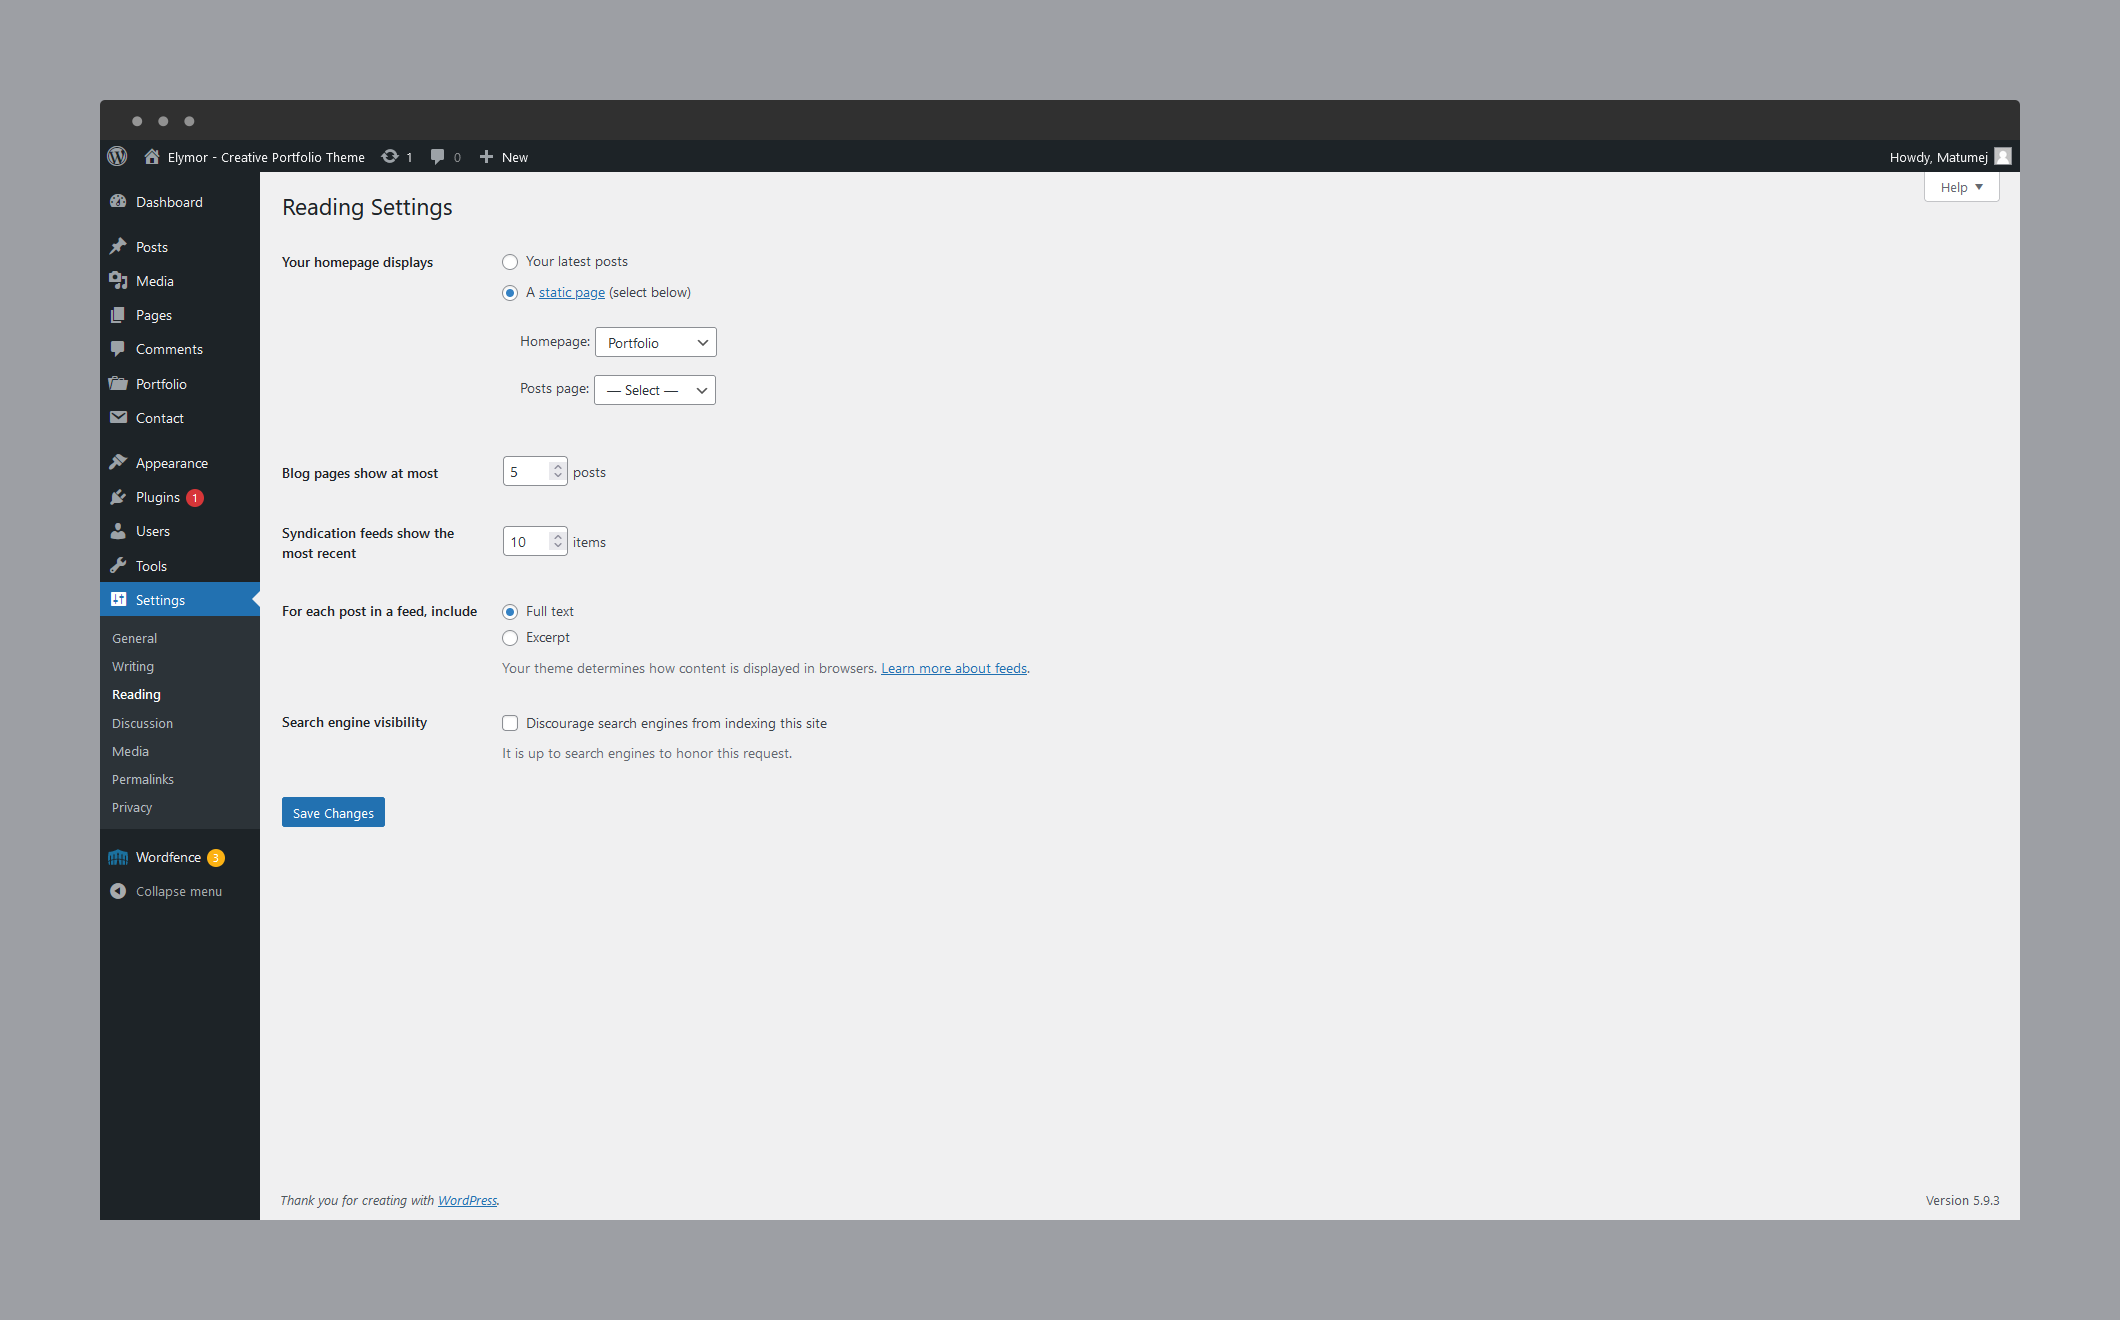
Setting up the front page
Go to Settings » Reading, and select the front page you wish to have for your website. The front page on our demo site is Portfolio
Configuring Contact Form 7 plugin
Our theme requires contact form 7 plugin for contact form. After installing it, go to Contact » Add new (or edit current one) and in Form field paste what's below:
Code Example:
Then at the top of page you'll see the shortcode
Code Example:
Didn't find what
you were looking for?
If there’s anything unclear or you have some concerns
open a ticket on our forum and we'll get back to you.

